
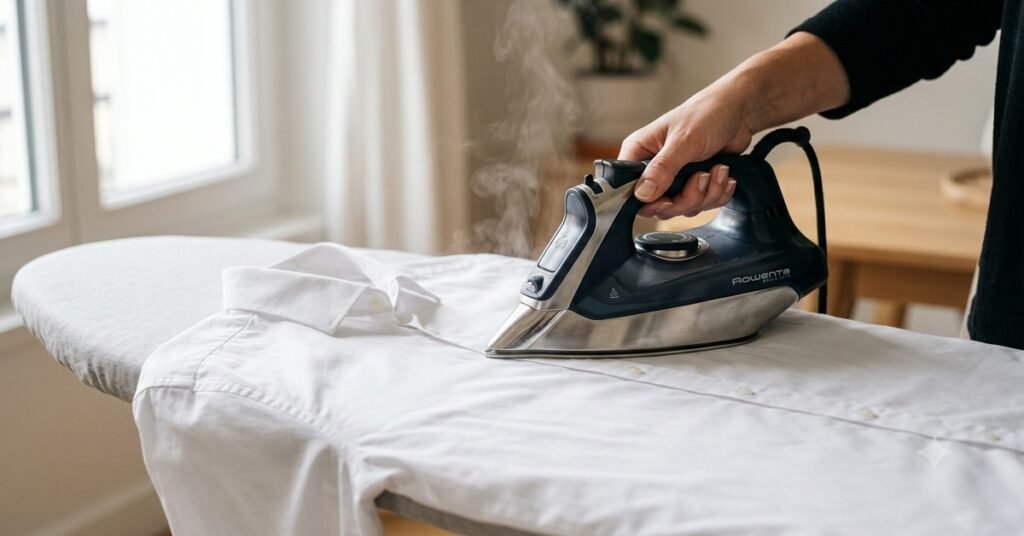
Introduction
How to iron a shirt properly is a skill millions of people still search for every year, even in 2026. Furthermore, whether it is a dress shirt for the office, a formal event, or a job interview, a well-ironed shirt instantly changes how put-together someone looks. However, most people iron in the wrong order, use the wrong heat setting, or skip steps that make the difference between a crisp finish and a shirt covered in stubborn wrinkles. Moreover, the right technique can cut ironing time in half while producing sharper, longer-lasting results. In this article, we cover everything about how to iron a shirt, from setup to the correct step-by-step order. So let us get started!
How To Iron A Shirt? The Direct Answer
How To Iron A Shirt — Setting Up Correctly
How to iron a shirt starts with proper setup, long before the iron ever touches the fabric. Furthermore, check the shirt’s care label for the recommended heat setting, since cotton, linen, polyester, and blended fabrics all require different temperatures to avoid scorching. Moreover, always iron a shirt while it is still slightly damp, either straight from a low-heat dryer cycle or lightly misted with a spray bottle, since dry fabric holds wrinkles far more stubbornly. As a result, a few minutes of setup can prevent burn marks and make the entire process noticeably faster.
How To Iron A Shirt — Choosing The Right Temperature
Getting the temperature right is one of the most important parts of how to iron a shirt. Furthermore, cotton and linen typically tolerate high heat, polyester and synthetic blends need a low-to-medium setting, and silk requires the lowest heat with a pressing cloth to prevent shine or scorching. Moreover, most modern irons include fabric-specific settings printed directly on the dial, making it easy to match the setting to the care label. As a result, testing the iron on an inside seam or hidden hem first is a smart habit before ironing the visible parts of the shirt.
How To Iron A Shirt? The Correct Step-By-Step Order
How To Iron A Shirt — The Collar And Cuffs First
Professional pressers agree that how to iron a shirt correctly starts with the smallest, most detailed areas. Furthermore, begin with the collar, ironing it flat and unfolded from the underside first, then flip it over and press the visible top side, since ironing the collar first sets a clean foundation for the rest of the shirt. Moreover, move next to the cuffs, unbuttoning them completely and ironing both the inside and outside of each cuff before it gets folded again. As a result, starting with these smaller, structured areas prevents new wrinkles from forming as you work on the larger sections.
How To Iron A Shirt — Sleeves, Yoke, And Body
After the collar and cuffs, the next stage of how to iron a shirt covers the sleeves and the main body. Furthermore, lay each sleeve flat with the seam aligned at the edge and press from the shoulder to the cuff, then flip and repeat on the other side, taking care to avoid pressing a sharp crease down the center unless that is the desired look. Moreover, the yoke — the section across the shoulders and upper back — is easiest to iron by draping it over the pointed end of the ironing board. Finally, iron the front panels and back panel of the shirt body last, working around the buttons carefully and moving the iron in long, even strokes rather than back-and-forth scrubbing motions. As a result, following this exact order minimizes re-wrinkling and produces a noticeably crisper overall finish.
Here is a quick overview of the correct ironing order and settings:
Shirt SectionIroning OrderNotesCollar1st (first)Iron underside, then top; unfoldedCuffs2nd (second)Unbutton fully, iron inside and outsideSleeves3rd (third)Align seam at edge, press shoulder to cuffYoke (shoulders)4th (fourth)Drape over pointed end of boardBody (front/back)5th (fifth, last)Long even strokes, work around buttons
Furthermore, this order matters because ironing larger sections first tends to create new wrinkles in the smaller areas that still need to be pressed. As a result, working smallest to largest keeps the shirt as smooth as possible throughout the entire process.
How To Iron A Shirt? Common Mistakes And Pro Tips
How To Iron A Shirt — Mistakes That Cause More Wrinkles
Even people who know how to iron a shirt often make a few avoidable mistakes. Furthermore, ironing a shirt while it is completely dry, pressing too hard instead of using the iron’s own weight and heat, and ironing over buttons or zippers directly can all cause dents, shine marks, or new creases. Moreover, skipping the fabric-check step and using high heat on synthetic blends is one of the most common causes of scorched or melted fabric. As a result, slowing down and following the correct order actually saves time by avoiding the need to re-iron problem spots.
How To Iron A Shirt — Professional Finishing Tips
A few extra techniques can elevate how to iron a shirt from acceptable to professional-looking. Furthermore, using a pressing cloth — a thin piece of cotton fabric placed between the iron and the shirt — protects delicate fabrics and prevents shine on darker colors. Moreover, hanging the shirt immediately after ironing, rather than folding it while still warm, helps the fabric set properly and prevents new wrinkles from forming as it cools. As a result, these small finishing habits are what separate a quick touch-up from a genuinely crisp, professional result.
Frequently Asked Questions (FAQs)
Q1: What is the correct order to iron a shirt? The correct order is collar first, then cuffs, then sleeves, then the yoke across the shoulders, and finally the front and back body panels last. Furthermore, this order prevents newly pressed sections from getting wrinkled again while working on the rest of the shirt. As a result, following this sequence produces a noticeably crisper finish.
Q2: What temperature should I use to iron a shirt? The temperature depends on the fabric: cotton and linen tolerate high heat, polyester and blends need low-to-medium heat, and silk requires the lowest setting with a pressing cloth. Furthermore, checking the care label before ironing prevents scorching or shine. As a result, testing an inside seam first is a safe extra precaution.
Q3: Should a shirt be damp or dry when ironing? Slightly damp is best. Furthermore, dry fabric holds wrinkles far more stubbornly than fabric that is lightly moist, either from a low-heat dryer cycle or a spray bottle. As a result, misting a dry shirt before ironing can significantly speed up the process.
Q4: How do I iron a shirt without making it shiny? Using a pressing cloth between the iron and the fabric, especially on darker or synthetic materials, prevents shine and scorch marks. Furthermore, keeping the iron moving rather than resting it in one spot also reduces the risk of shine. As a result, this technique is especially useful for polyester blends and dark dress shirts.
Q5: Why do my shirts still wrinkle after ironing? This is often caused by folding or wearing the shirt while it is still warm, since heat needs time to set the fabric fibers in their pressed position. Furthermore, hanging the shirt immediately after ironing allows it to cool and set properly. As a result, this simple habit change can noticeably reduce post-ironing wrinkles.
Q6: Can I iron a shirt without a spray bottle? Yes, though a slightly damp shirt irons more easily than a bone-dry one. Furthermore, pulling the shirt straight from a low-heat dryer cycle or using the iron’s built-in steam function can achieve a similar effect. As a result, a spray bottle is helpful but not strictly required.
Conclusion
So what is the full method behind how to iron a shirt? The answer comes down to preparation, order, and temperature. Furthermore, starting with a slightly damp shirt, checking the correct heat setting for the fabric, and following the collar-cuffs-sleeves-yoke-body order produces a noticeably crisper result than ironing at random. Moreover, small finishing habits like using a pressing cloth and hanging the shirt immediately after ironing make the difference between an average press and a professional-looking finish. As a result, mastering this simple sequence turns a chore many people dread into a quick, five-minute routine with sharp, lasting results.
Stay tuned to WorldForbes for the latest lifestyle guides, home tips, and how-to articles in 2026.
Pingback: What Is The Easiest Language To Learn: Everything You Need To Know in 2026 - WorldForbes